In this guide
1. Start with what you actually filmed
You have the clips, but every attempt at narration either sounds stiff or runs past the last shot. Start by watching the footage without speaking. What can the viewer already see? What would they need you to explain?
This works for a tutorial, a product demonstration, or an everyday video with narration recorded separately. Give the video one point rather than trying to explain everything you know about the topic.
For this worked example, imagine you filmed a 30-second demonstration of packing a small day bag. The point is simple: pack the things you will reach for first where you can get to them easily. The example is illustrative, not a customer story or a recording made by Scripts.
The footage notes
Opening: an empty day bag and the items beside it. Middle: a folded jacket goes in the main compartment, then a water bottle in the side pocket. End: keys go in the front pocket; the bag is zipped and picked up. Available time: about 30 seconds.
2. Explain the choices, not every movement
“I put the bottle in the side pocket” repeats the picture. “Keep your water where you can reach it without opening the bag” explains the choice. Narration is useful when it supplies a reason, a detail, or a connection the viewer cannot get from the clip alone.
Do name an action when it makes an instruction clearer. You do not need to avoid describing the picture entirely. The test is whether the words help someone follow the point, rather than fill every second with commentary.
Keep claims within what you know. If this is a product demo, provide the real specifications or observations you want mentioned. Do not ask a draft to invent your experience, results, or reasons for recommending something.
3. Give Scripts the footage notes and the point
On Home, type or speak the idea into the creation widget. Describe the clips in their intended order, the point of the video, who it is for, and the time available for narration. Scripts uses the description you supply; this flow does not inspect your footage.
Ask for spoken words only. Keep shot notes in your brief or a separate note so you do not accidentally read them during rehearsal. Send the brief, answer any useful clarification questions, and review the generated draft.
A brief you can adapt
Write a voiceover for a 30-second Reel showing how to pack a small day bag. The audience is someone heading out for the day. The point: keep the things you reach for first easy to access. Footage order: empty bag and items; folded jacket in the main compartment; water bottle in the side pocket; keys in the front pocket; zip and pick up the bag. Use short, friendly sentences. Explain the packing choices without narrating every movement. Return only the spoken words, with no shot directions. Do not invent a personal story, product claims, or extra items.
4. Compare the draft with a complete example
Here is one possible narration for the example footage. It is a manually written teaching example, not a promise that a generation will return these exact words. It has about 60 words; whether it fits depends on your delivery and the gaps between shots.
Notice that the opening gives the viewer the point, the middle explains three choices, and the ending brings those choices together. There is no invented backstory or claim that this bag is better than another one.
The spoken script
Pack your day bag around what you’ll need to reach first. Put the jacket in the main compartment, so the smaller pockets stay free. Keep your water on the side, where you can grab it without opening the bag. And give your keys their own front pocket. That’s the idea: the things you reach for most shouldn’t be buried at the bottom.
5. Fix the lines that do not sound like you
Say the draft out loud once. Replace words you would not normally use, split a sentence that makes you rush, and remove anything that does not match the clips. A script can be grammatically correct and still be awkward to say.
If an existing draft speaks directly to the camera instead of supporting the footage, use Voiceover in the script’s refinement controls. That action rewrites the text for narration. It does not create an audio track. AI refinement is a Pro feature, including during an active Pro trial; you can also edit the words yourself.
For a more specific change, describe what to keep and what to remove. Review the revision before using it, especially if there are factual claims or details about a product.
A focused refinement request
Keep the three packing choices in the same order. Shorten the sentences for a calm voiceover. Remove any repeated description of what the footage already shows. Return spoken words only and do not add facts or items.
6. Check the timing against the clips
Read the script while watching the footage and use a timer. Check the individual moments, not just the total duration: the keys line should not arrive while the viewer is still watching the jacket shot. Leave room for a breath or a useful moment of silence.
If the words run long, cut a repeated idea before speaking faster. If there is spare time, you can leave it spare. A 30-second video does not need 30 seconds of continuous speech.
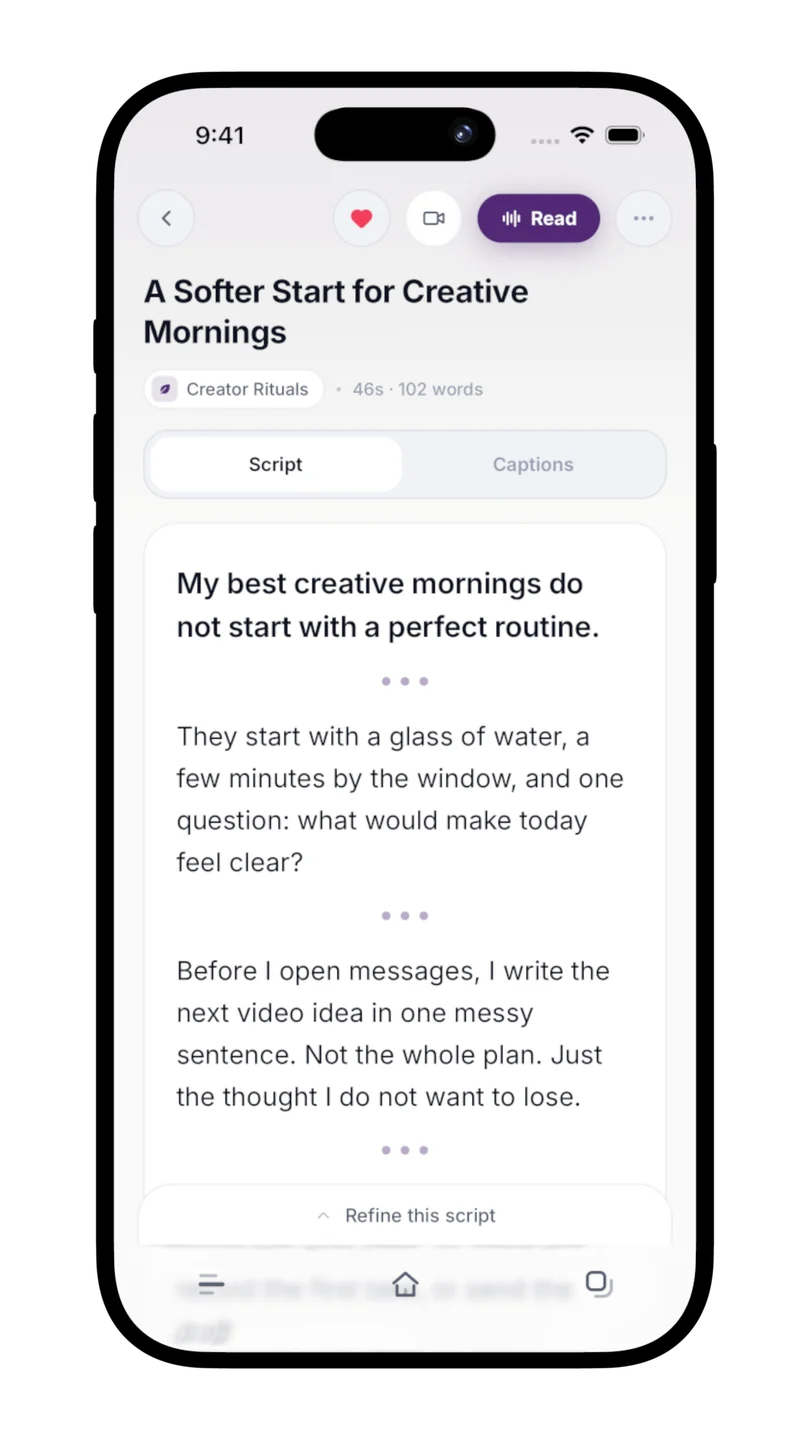
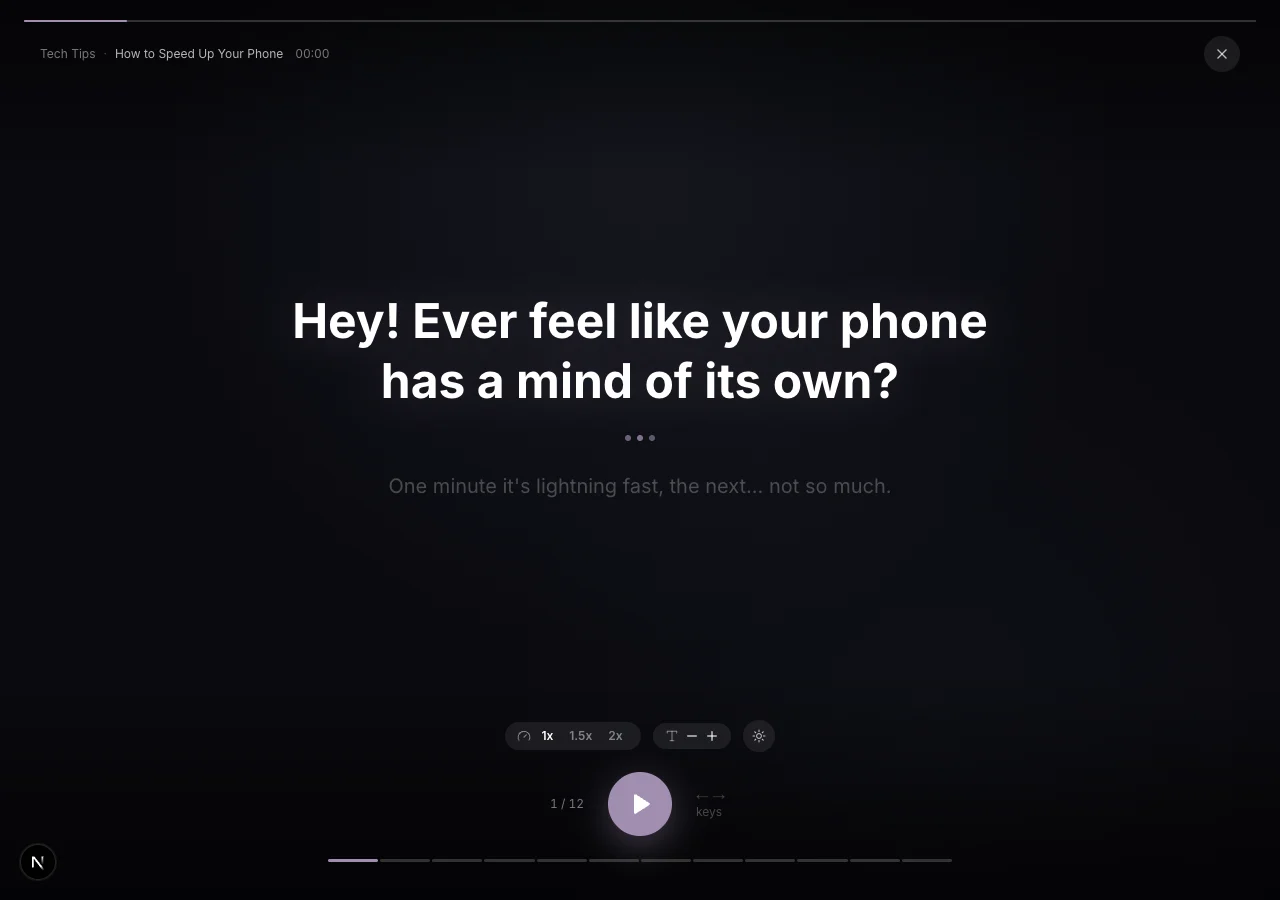
Use Read or Reading Mode to rehearse the wording and adjust the displayed pace and text size. Reading Mode does not synchronize with your footage or listen to your voice; check the clip timing separately. Record the narration with your preferred audio or editing tool, then combine it with the footage there. Scripts prepares the words, not the final edited video.
7. Do one final check before recording
Keep the version that fits both your voice and your clips. Before recording, check these four things. If one fails, make a small revision rather than starting the whole script again.
- 1
The point is clear
You can describe what the viewer should understand in one sentence.
- 2
The words match the footage
Every referenced item or action is present, and no unsupported claim has slipped in.
- 3
The timing works
Each line lands on the right part of the video, with space to breathe.
- 4
You can say it comfortably
You have read it aloud and changed the phrases that trip you up.